This is a new topic in 12.03.
This is a new topic in 12.04.
Content highlighted in yellow is new in 12.03.
Content highlighted in blue is new in 12.04.
Google Maps Functionality
This topic covers the process for adding a Mileage/Vehicle-based expense claim item, given that the Google Maps functionality parameter is enabled.
-
After selecting the Mileage/Vehicle-based expense type, the Vehicle field and the
 button will appear. If the parameter allowing claimants to add vehicles is enabled, the
  button will also appear.
 -
Select the vehicle you wish to record mileage for from the drop-down list. If the relevant vehicle is not in the list, click
 and add the vehicle (see My Vehicles > Adding a Vehicle for detailed instructions). If this button is not available, you must contact your expense administrator to add the vehicle for you.
 -
Click
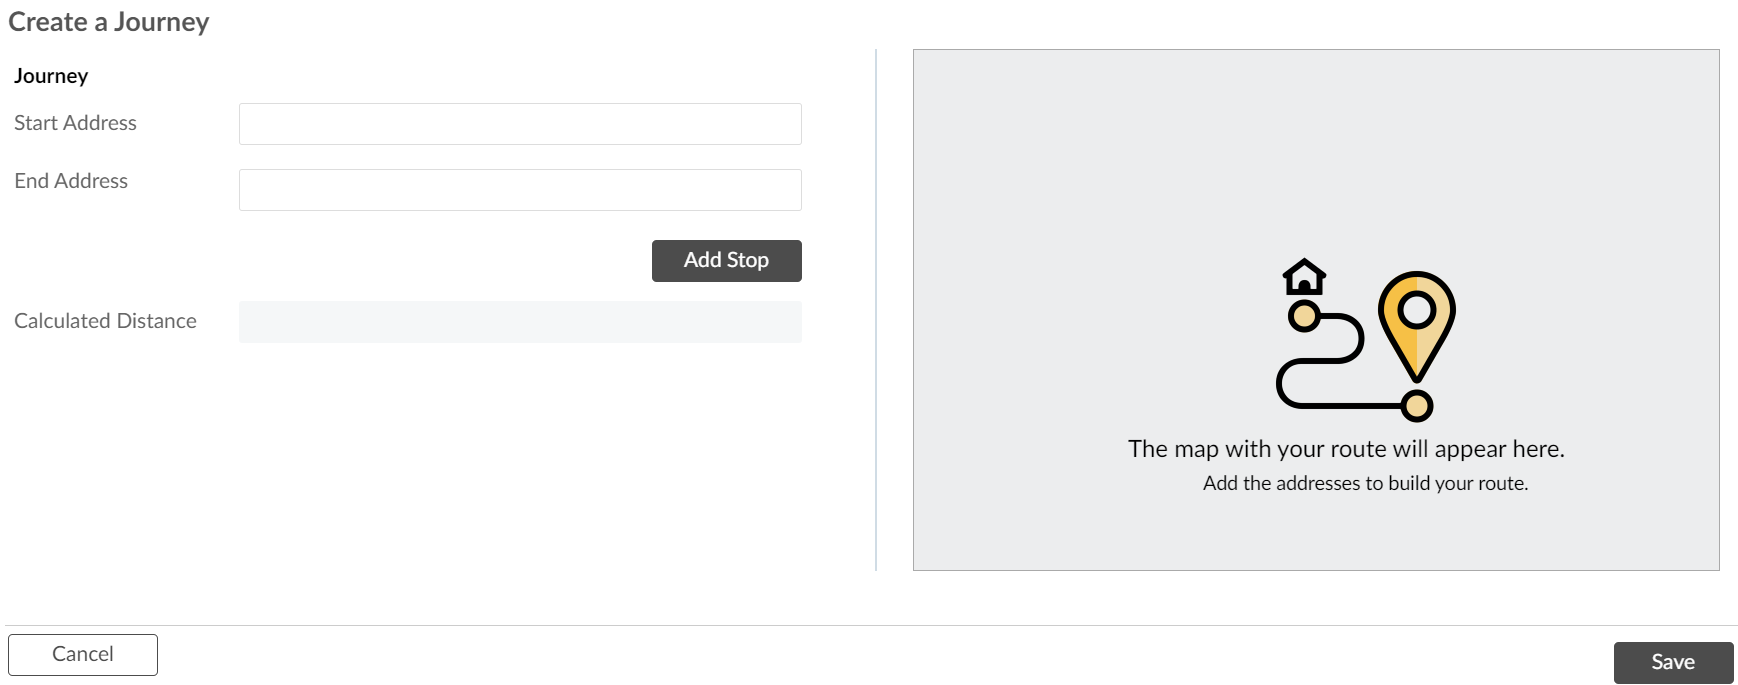
 . This opens the Create a Journey window.
-
Enter the Start Address and End Address of the journey. The route will appear on the right and the mileage will be calculated automatically.

-
If necessary, you can add up to four additional stops to the journey using the
 button. To remove an added stop, click the
  button next to the address. Like before, the route and calculated distance will be automatically updated as you add and remove stops.
 -
Click
 to save the journey.
 -
If necessary, you can click the
 button to reopen the Create a Journey window and make changes to the journey.
 -
If the parameter allowing claimants to override the calculated mileage is enabled, you will be able to change the mileage in the Cost Details section of the Manage Expense Claim Item window. This may be necessary if you took a slightly different route to the one suggested by Google Maps. When you submit the claim, the approver will be able to see both the original calculated distance and your overridden mileage.